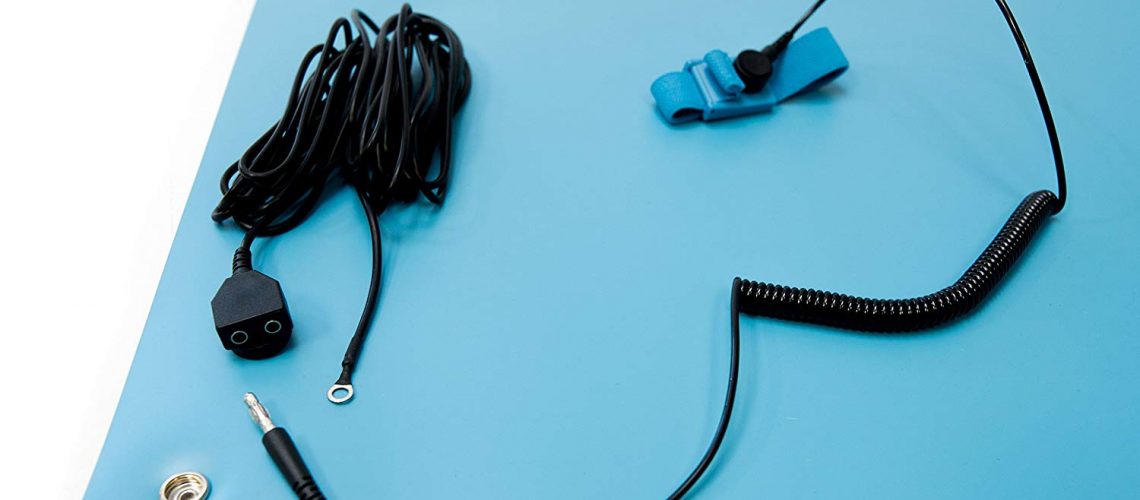
Bertech is a leading manufacturer of Electro Static Discharge (ESD) Products. Static control is essential during electronic manufacturing. Bertech ESD mats are designed to provide a static safe work surface for static sensitive products.
What are the Bertech ESD Mats Made of?
There are several varieties of ESD mats, most being constructed from vinyl, foam or rubber. Choosing a mat will depend on your intended. use.
Choosing a Grounding Mat for ESD Protection
Vinyl ESD Mats are ideal for static dissipative and flexible work surfaces. With a solid vinyl, homogeneous construction with a buried conductive layer which provides superior physical and electrical qualities. Vinyl ESD mats are used for aerospace assembly, computer operators and technicians, electronic assembly, solar and fiber optics. The best rated Bertech ESD Vinyl Mat on Amazon is below.
Foam ESD Mats are designed for use in front of computer keyboards and technicians working on static sensitive electronic components. This Bertech ESD Mat below is made from three eights thick double layer ESD foam with a conductive fleece to form a static dissipative surface. The surface resistivity is 10e7 – 9 x 10e8 ohms. Check it out below:
Bertech ESD Mats made from rubber are best used for soldering and solvent use. The double layer rubber provides excellence resistance for soldering irons, oil, grease and most solvents. The top layer is a gray static dissipative rubber layer laminated to a black conductive rubber bottom layer. This rubber mat is very light in comparison with other Bertech ESD mats. View the Bertech ESD Rubber Mats below, available in a huge range of sizes and two different thicknesses.
Bertech ESD Protection Set Up

1. Lay the table mat flat on the workbench with the snaps toward the operator.
2. Connect the common point ground cord to the table mat by snapping it to the left or right snap.
3. Connect the coil cord to the common point ground cord by plugging the banana plug into one of the ground cord’s banana jacks.
4. Snap the wrist band to the coil cord. Important: Make sure that the operator wears the wrist band on bare skin and tightens the band so that no gap exists between the skin and the band.
5. Lay the floor mat on the floor in front of the workbench with the snaps toward the bench.
6. Connect the floor mat ground cord to one snap on the floor mat.
7. Connect the common point ground cord and floor mat ground cord to ground. Use the green wire building ground point as specified in EOS/ESD Standard 6.
Connection to this ground point is most easily accomplished by removing the center AC outlet plate cover screw, placing the screw through the eyelets from both ground cords, and replacing the screw. The wires can be moved to the left and right sides of the screw so that they do not obstruct the outlet.


