Home Safety

Scary Sharp: Rooster’s Foolproof Ax Sharpening Method 

by Todd Walker

Scary Sharp - Rooster's Foolproof Ax Sharpening Method - TheSurvivalSherpa.com

“Give me six hours to chop down a tree and I will spend the first four sharpening the axe.”

This quote, falsely attributed to Abraham Lincoln, is inspirational but scary to anyone new to ax-manship. I get the idea of the quote. But four hours to sharpen an ax?

Okay, if an ax is in really bad shape, you could spend a few hours on the work bench. But once you’ve spent time achieving a keen edge, you’ll understand why Horace Kephart advises to never loan your ax to someone unless they know how to use it. A dull, abused ax a misery to swing and quite a job to bring back to working-sharp.

Scary Sharp Axes

I’ve always kept my working axes Sherpa Sharp, which by definition is a bit honed enough for a day of feeling, limbing, and bucking logs without needing to be touched up in the field. My method changed four years ago when Craig Roost (aka – Rooster) introduced fellow Axe Junkies to his simple Scary Sharp method.

If you’ve never been able to shave arm hair or slice newsprint with your ax, give Rooster’s Scary Sharp method a try.

Below is a list of stuff I use to sharpen my axes in the shop and field.

My Shop Tools

  • Wet/Dry Sandpaper: Progress from 220, 400, 600, 1,000, and at times 1500 – auto parts stores carry this sandpaper in 9″ x 11″ sheets
  • Bench Belt Sander: 80 to 120 grit
  • Drywall Hand Sanders: One for each wet/dry sandpaper grit to speed up the process
  • Leather Strop: A barber’s strop glued to a board
  • Green Buffing Compound: Rub into the leather strop
  • Buffing Wheel: Rarely use this machine on working axes
  • Files: Bastard file is used for bits needing to be re-profiled or when nicked/chipped
  • Rigid SuperClamp: This floor vise has revolutionized my shop
  • Safety Equipment: Leather gloves and eye protection
Scary Sharp - Rooster's Foolproof Ax Sharpening Method - TheSurvivalSherpa.com

Files, file card, 220, 400, 600, 1,000 grit sanders, and a leather strop impregnated with green rubbing compound.

My Field Tools

  • Ax Puck: Medium and coarse duel sided grit
  • Strop: Leather belt, leather ax sheath, or wood
  • File: A small bastard file
  • DiY Fixin’ Wax

Refer to the Ax Anatomy chart below if you’re unfamiliar with any of the terminology in the tutorial. Cutting to the Chase When Choosing Axes for Self-Reliance | www.TheSurvivalSherpa.com

Shop Maintenance  System

You may sharpen your axes differently. This is the system I use to maintain my working axes. The condition of vintage axes I restore varies from light rust removal with a wire wheel to major vinegar bath and material removal with a file. This post is not intended to cover the complete restoration process of old axes. It’s a maintenance step to keep working axes sharp. Even “out of the box” axes likely need to be honed before severing wood fibers.

Belt Sanding

All new-to-me vintage ax bits typically go on the belt sander first. Hold the axhead so that the sanding belt moves from the poll of the ax to the bit. The other way around will end up severing the sanding belt. Work the bit from toe to heel on the part of the belt that gives way to pressure. In this way, the belt conforms to the convex grind angle of the ax bit.

Scary Sharp - Rooster's Foolproof Ax Sharpening Method - TheSurvivalSherpa.com

This is my sweet spot on my homemade belt sander.

Make a few passes on one side and repeat on the other side of the bit. I sand both sides maybe three times with 80 grit depending on the need. Swap out to 120 grit and repeat the process.

I don’t use leather gloves. I want to feel the warmth of the ax bit during the sanding process. The axhead is dipped in water several times throughout the process to keep it cool and preserve the temper of the bit.

Hand Sanding

Hand sanding can be done without a vise (see Rooster’s video below). However, my Rigid floor vise makes the process easier and faster. Clamp the handle in the vise with the axhead perpendicular to the floor. Stand to the side and behind the bit you’re going to sharpen. Now would be the time you’ll want to wear leather gloves.

Below is a video demo of me sharpening my broad ax with a 12 inch bit…

Cut a strip of each grit to fit the drywall sanding handle(s). With as much sharpening as I do, multiply handles with each grit attached saves time from having to change out sand paper if using only one handle. Plus, I had these handles in my drywall box from my handyman days. Using them to sharpen axes is way more pleasurable than their intended use.

Begin swiping from heel to toe of the ax bit with the 220 grit sand paper. Move the sander in a semicircular motion. You’ll be reminded of Dustin Hoffman’s character in the movie Rain Man with all the counting you’ll be doing. I stroke one side 30 times. There’s no magic number to this and you don’t have to count – it’s just what I do. I flip single bit axes in the vise and sand the other side 30 times. For my double bit axes, I reposition on the opposite side and stroke the second bit before flipping the ax.

On the second grit, 400, I change from a “heel to toe” direction to a “toe to heel” stroke. This helps me see how well I’m replacing the previous scratches on the bit left by the 220 grit. Continue changing grits and direction until you make it to the highest sanding grit. Most times, I only need to go to 600 grit and a good stropping to get my working axes Sherpa Sharp. I rarely go up to 1,500 grit unless I’m sharpening a new-to-me ax.

Stropping

I glued an old leather barber’s strop to a wooden handle years ago. I rub green compound into the leather and use it in the same way as the sanding handles. I only strop the bit about 10 times on each side to remove any burrs and give the bit a mirror finish.

Rooster even made a strop for a drywall sanding handle. He demonstrates his full method in the updated video below.

Rooster’s method produces remarkable results. The foam pad under the drywall sanding handles allows the sandpaper to conform to the convex shape of the bit. So simple a novice can do it!

Field Maintenance System

There have been times when I lay into a tree and notice the bit not penetrating the wood fibers very well. This is usually because I failed to sharpen my ax in the shop before heading out. You may be tempted to overcompensate with more power in each stroke. Not a wise idea. This will lead to early fatigue, damage to the handle, and possible injury. Stop swinging and touch up the bit.

Puck It

For years I’ve used a Lansky Puck to touch up axes in the field. The course side is 120 grit with the other side being 280 medium grit. The medium grit (280) is all I use to hone in the field. I use water, not oil, on my puck since I always have water available. Sometimes I use it dry. Either way, I rarely use this stone if I’ve “Rooster’d” my axes in the shop beforehand.

Grip the puck so that your fingers and thumb are not hanging over the bottom of the stone for obvious reasons. Make several circular strokes down and back on one side of the ax bit. Flip to the opposite side of the bit and repeat. I like to hold the ax so its bit in my line of sight. I can adjust the angle of the puck to meet the bit edge as needed. For double bit axes, I sink one bit into a stump to hold the ax in place while sharpening.

I strop the edge with the leather ax sheath to remove burrs as a final step. A piece of wood can also be used as a strop.

I apply a coat of DiY Fixin’ Wax to the axhead when I think about it. This helps prevent rust, which isn’t usually a problem until carbon steel sets for a while. Due to the beef tallow content in my Fixin’ Wax, it also helps to remove pine sap from my tools.

Steven Edholm (SkillCult) has a video of how he made a field “puck” from a Japanese water stone. Pretty creative. The stone has 250 and 1,000 grit sides. I have a stone like this but haven’t made the field puck yet.

We’re interested in learning how you keep your working axes sharp. Let us know in the comments, please.

Keep Doing the Stuff of Self-Reliance,

~ Todd

P.S. – You can also keep up with the Stuff we’re Doing on TwitterPinterestYouTubeInstagram, and Facebook… and over at our Doing the Stuff Network.

P.P.S – If you find value in our blog, Dirt Road Girl and I would appreciate your vote on Top Prepper Sites! You can vote daily by clicking here or on the image below. Check out all the other value-adding sites while you’re there…

Thanks for Sharing the Stuff!

Copyright © by Survival Sherpa: Content on this site (unless the work of a third-party) may be shared freely in digital form, in part or whole, for non-commercial use with a link back to this site crediting the author. All links in articles must remain intact as originally posted in order to be republished. If you are interested a third-party article, please contact the author directly for republishing information.


Scary Sharp: Rooster’s Foolproof Ax Sharpening Method  Read More »

The Cold Facts: Ice Fishing Fundamentals

While cold winter days make a perfect setting for various cozy indoor activities, for those looking for an occasional adventurous kick to break their comfortable routine, ice fishing can be just the right formula.

Even though this way of fishing has some dangers fishermen need to be constantly aware of, modern equipment transformed it from a survival skill into almost a recreational sporting activity. 

Still, for complete beginners, ready to drill their first hole in the ice, here are a few hints on how to get ready for ice fishing, and be safe and warm.

Don’t Do It On Your Own

The first rule for keeping yourself safe from any potential dangers is very simple – never go ice fishing alone! The greatest risk of this activity is hypothermia, which can quickly kill if one falls into cold water. 

When planning your first experience, make sure you find a partner. A pair of extra hands can literally make a difference between life and death if any accidents occur. Also, always inform someone about where you’re going, so that they will be expecting you to return and could contact the authorities if you fail to show up.

Know the Ice

When it comes to ice safety, again a simple rule follows – ice is never 100% safe. It can be a foot thick in one part of the lake, and just an inch in the other one, so you need to be cautious all the time.  To keep yourself alert, forget about booze when you’re on the ice. It won’t take the fun and joy away, and you’ll be safe.

To put a hole in the ice, the solid ice needs to be thicker than 4 inches, and it’s a minimum you should never go below. For a snowmobile or an ATV, it needs to be thicker than 7 inches. 

Apart from the fact that the thickness of ice varies in different parts of the lake, there is another one worth knowing – ice flows and tends to break because of the strong winds, sometimes leaving fishermen away from the shore. 

So, for the beginning of your adventure, choose friendly and popular waters, so you and other fishermen can look out for each other, and you can get some useful tips for successful ice-fishing.

Get Your Gear

You’ll need some tools and items, to have a complete ice-fishing experience. Here are the essentials you should bring:

  • Ice rods and reels,
  • Ice augers and spiral cutting tools for the hole,
  • A five-gallon bucket to carry gear, store fish, or sit on,
  • Rod holders,
  • Pliers and forceps,
  • A plastic sled for transporting your equipment.
  • Bait bucket and baits.
  • A fishing license.

Apart from this, make sure you’ve dressed appropriately for this occasion, wearing layered clothes. The material closest to your skin needs to keep you dry, so consider pants, pants, socks and mitten liners made out of moisture-wicking material, such as polypropylene. The next layer should keep you warm, so think about wool or fleece, and add windbreaker shell for wind protection. Wear hats with ear flaps and mittens, and make sure your boots have enough layers of insulation and protective rubber layer to keep your feet dry.

Have Fun Fishing

With your gear ready and your hole cut, you can now enjoy the thrill of fishing. 

Ice fishing most often calls for subtle movements of your bait, or combination of active and subtle bait movements. Try out several rod movements until you find out what fish prefer, and change lures and baits occasionally for the same reason. Given that fish are less active, the greatest odds of catching something will be right after dawn and just before dusk.

Follow these tips and pieces of advice in order to be safe and have a successful and fun ice-fishing adventure.

The Cold Facts: Ice Fishing Fundamentals Read More »

Shooting at A&M Texas Commerce Mass Shooting Vigil

Shooting at A&M Texas Commerce Mass Shooting Vigil

Gunshots were fired Sunday night during a vigil for the so-called “victims” of a mass shooting during a twerking party at Texas A&M Commerce. […]

This Article Shooting at A&M Texas Commerce Mass Shooting Vigil is an original article from OFFGRID Survival If it is appearing on any other site but OFFGRID Survival, that site does not have our permission to use our copyrighted content!

Shooting at A&M Texas Commerce Mass Shooting Vigil Read More »

A Visit to HUCKEPACKS

Accompany me on a visit to the ultralight candy shop that is the HUCKEPACKS Workshop in Cologne, Germany!

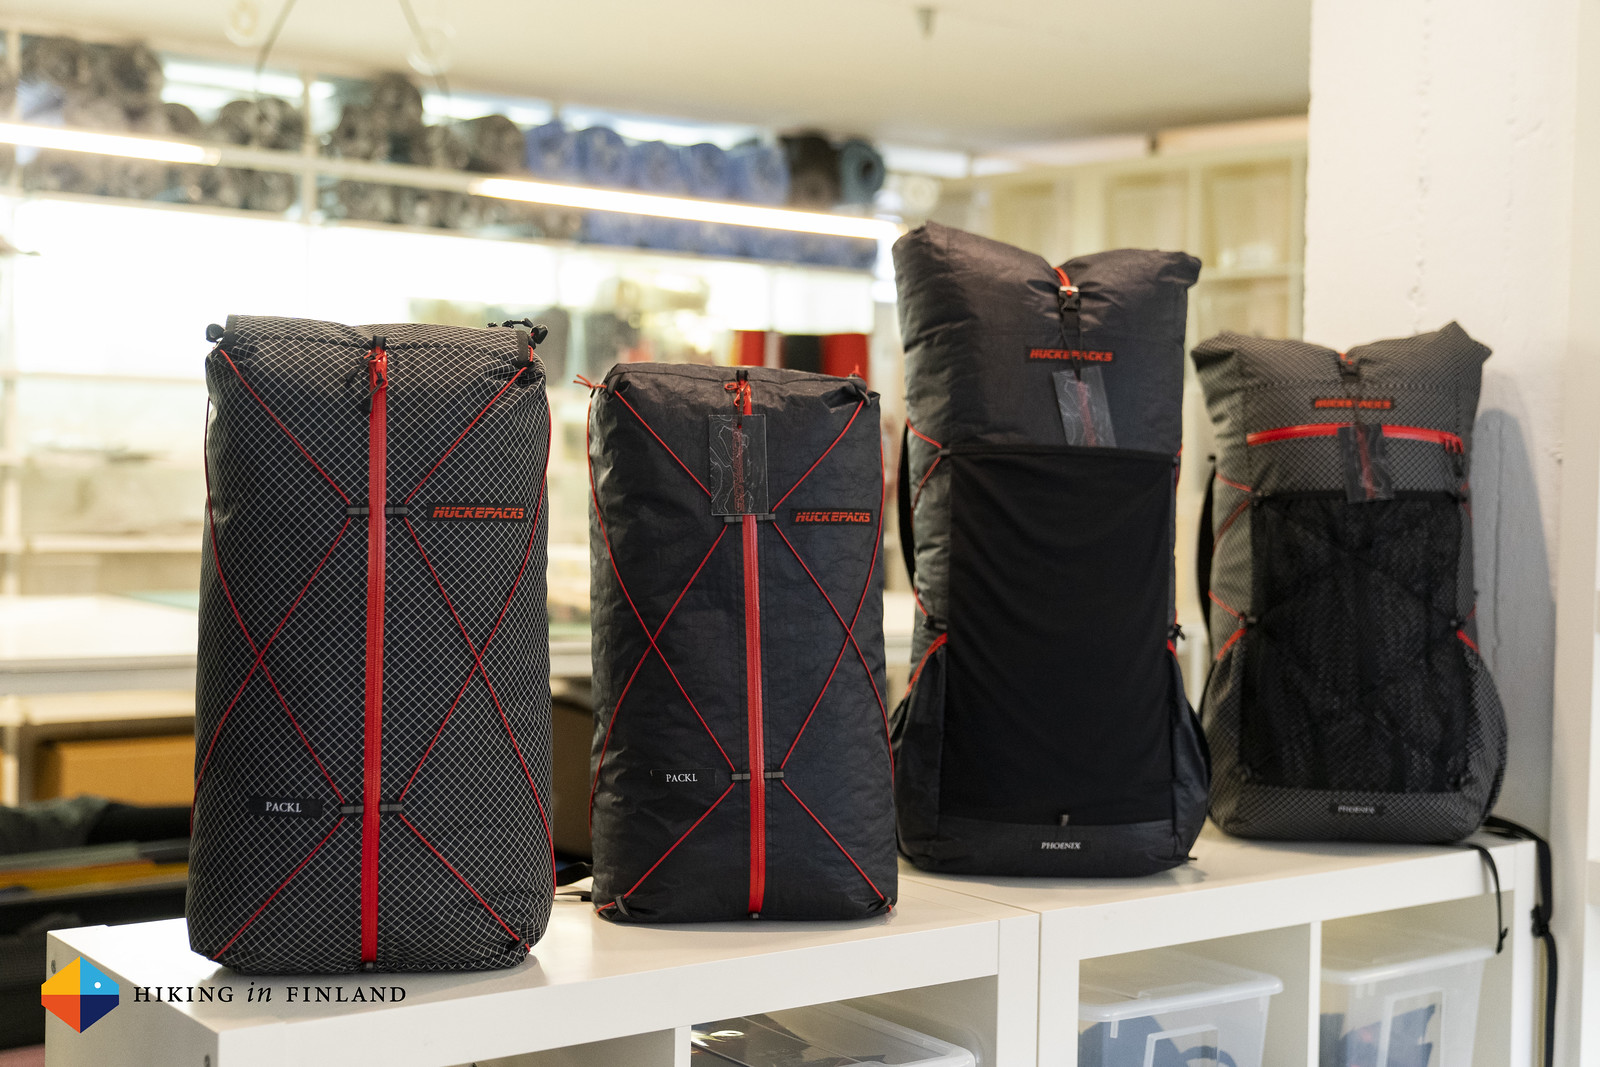
HUCKEPACKS Packs

Disclosure: Mateusz is a long-time friend, but I paid this trip myself and was not paid to write this article or produce the videos. I received a PHOENIX Lite for testing and giving feedback. As you know: I’m keepin’ it real and tell you how it is – I maintain full editorial control of the content published on Hiking in Finland. Read the Transparency Disclaimer for more information on affiliate links & blogger transparency.

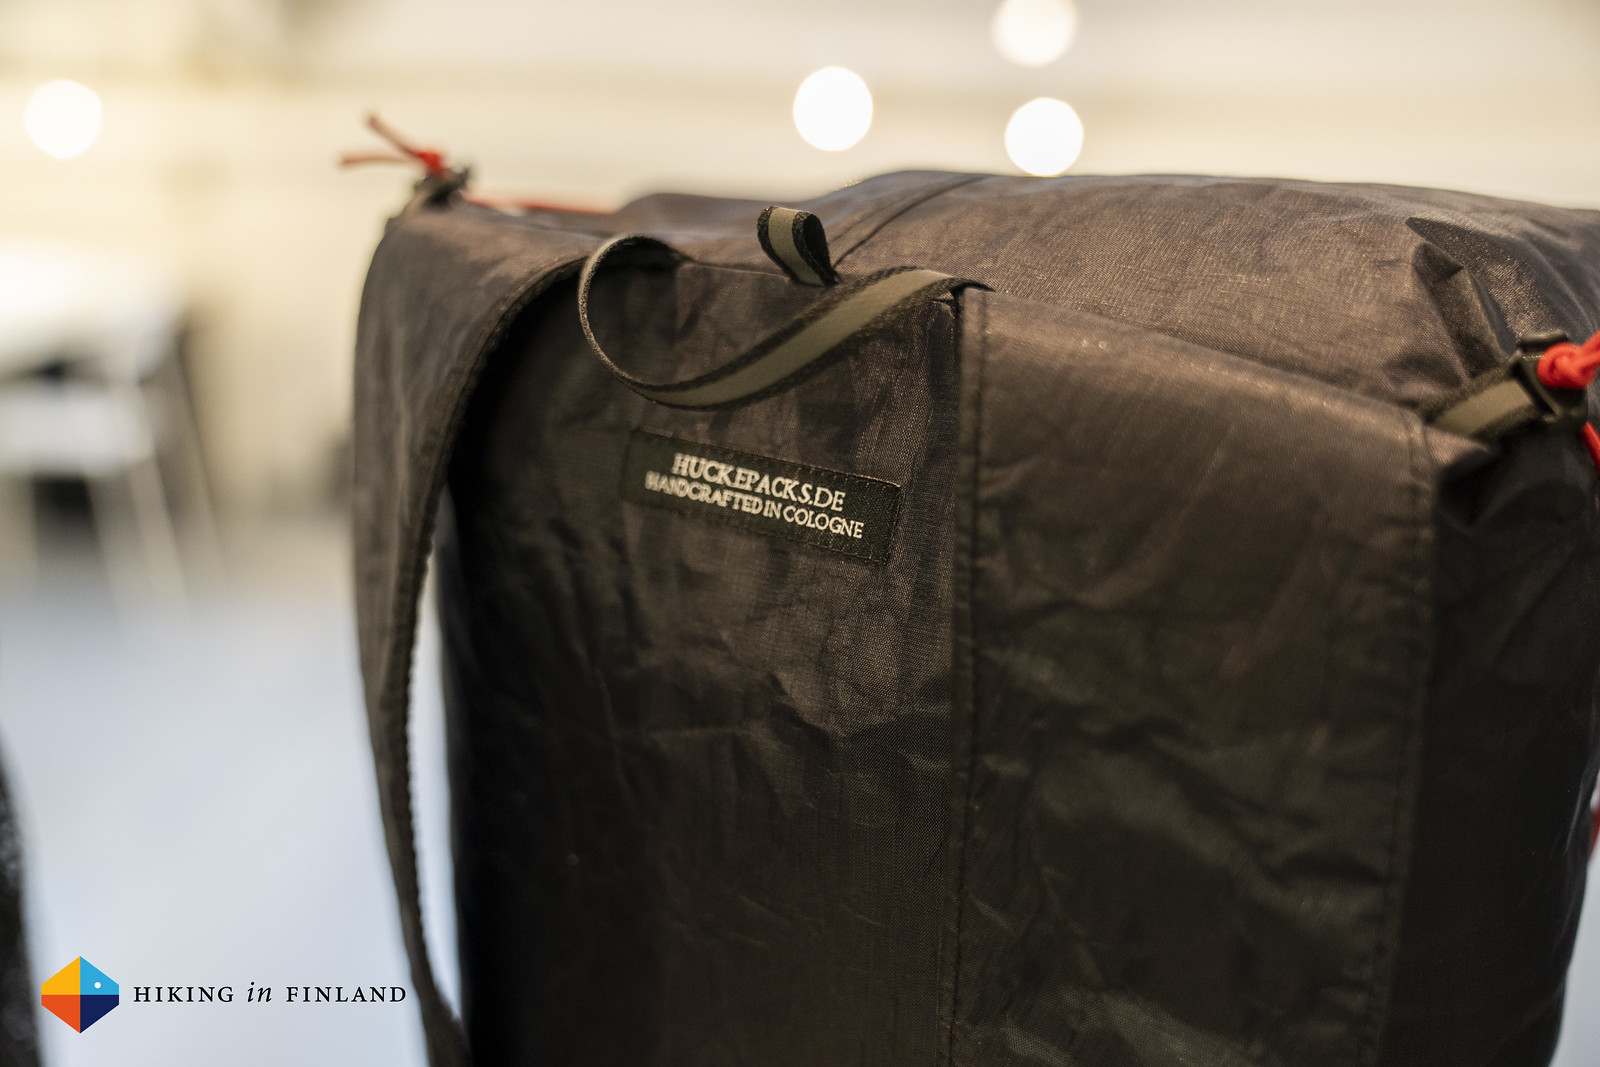
Handmade in Cologne

I remember the first call from Mateusz about the new company. I was backpacking in Vålådalen in September 2018, and was just at the beautiful turquoise lakes having a short break when my phone rang. I answered, and as usual Mateusz talked and talked and talked, until I had to tell him that I was about to continue hiking again and would like to know what it’s about. “Well, I plan to open LAUFBURSCHE Gear again. But it won’t be called LAUFBURSCHE anymore. What do you think about the name HUCKEPACKS?” I like it, I answered, it connects well to the old brand. From then on forward my phone would regularly ring and I’d chat for an half hour or longer with Mateusz about the new company and the new products.

Fast forward to the summer of 2019 and the family and me are on a train to Cologne. We have been travelling for two weeks around Germany, visiting Berlin, my home town and other places, and now we arrived in the city with the cathedral. We stayed at a nice Hostel in Ehrenfeld, and one morning I was able to steal away from parental duties and visit Mateusz at his Workshop.

HUCKEPACKS Workshop

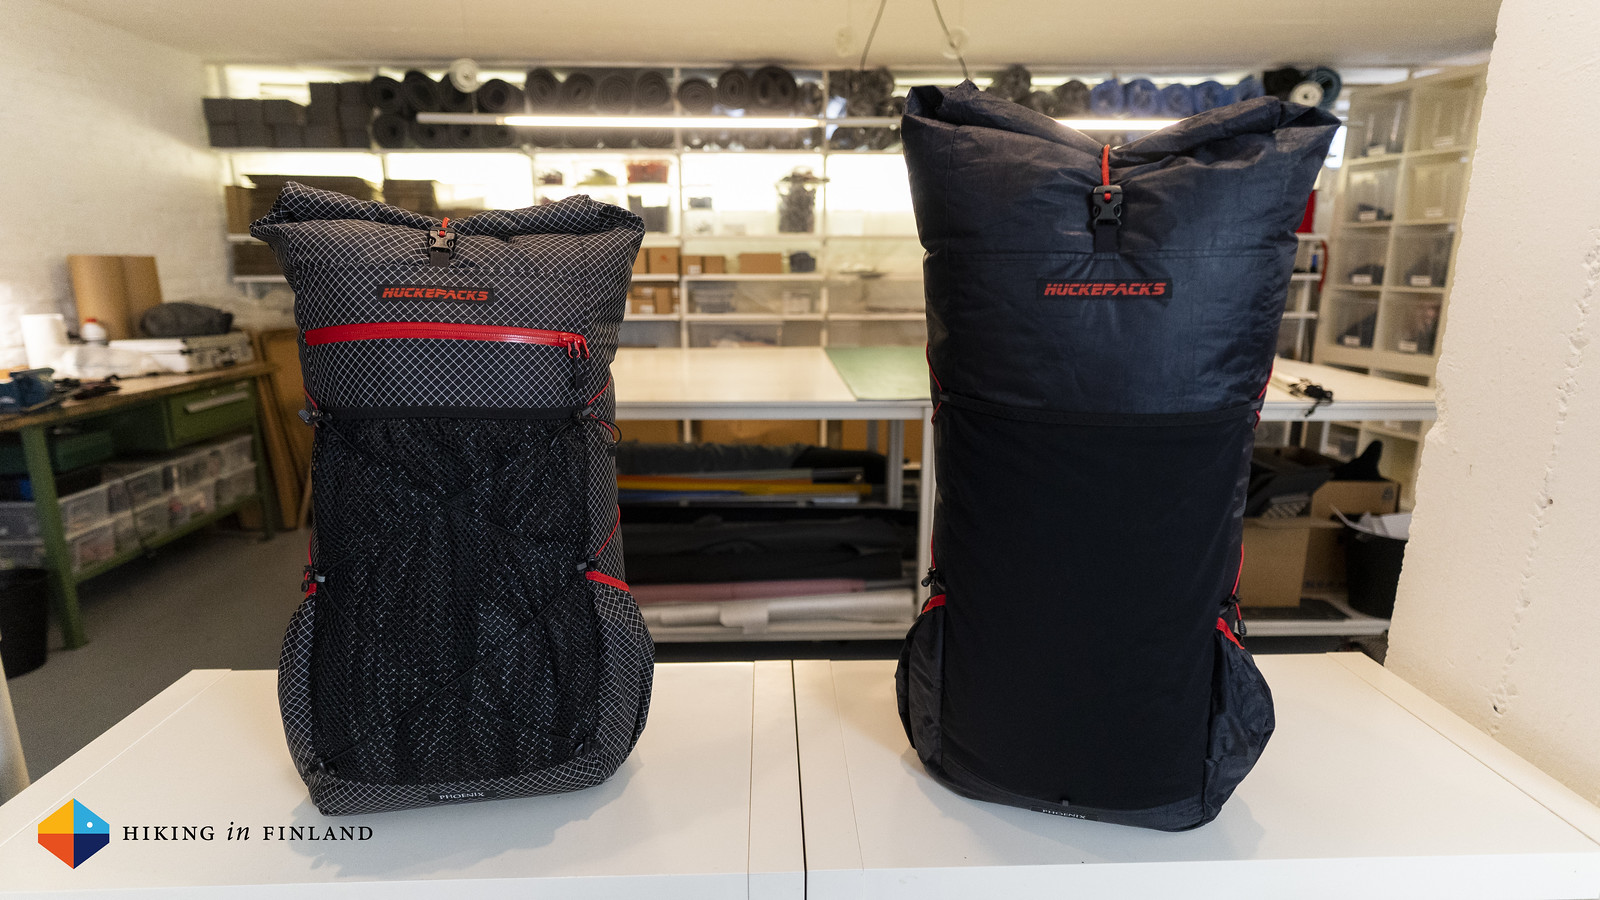
Now I have seen photos of the workshop before when friends were visiting him, and it was with much anticipation that I entered these “holy halls”. And amazing they were indeed. I was welcomed by the four new packs – the PACKL and PHOENIX – in their DxG and Cuben versions, and Mateusz walked towards me with a coffee in hand. I gave him a big hug and was happy that he was still with us. He made me a coffee, and then we sat down to chat.

It is always enlightening to sit and talk with Mateusz, and realize how much thought he puts into the smallest of details. Case in point: The new roll-top closure of the PHOENIX backpack. Where other companies are happy to use a tried & tested roll-top, Mateusz found it neither practical nor aesthetically pleasing. When he showed me the new roll-top closure, which folds and opens like an accordion, my jaw dropped. So easy, so beautiful, so practical, and such a smart continuation of the old HUCKEpack closure. And what is most amazing: He had this design already in 2015, and tested it on his HRP thru-hike that year!

HUCKEPACKS PHOENIX

Mateusz and the PACKLs

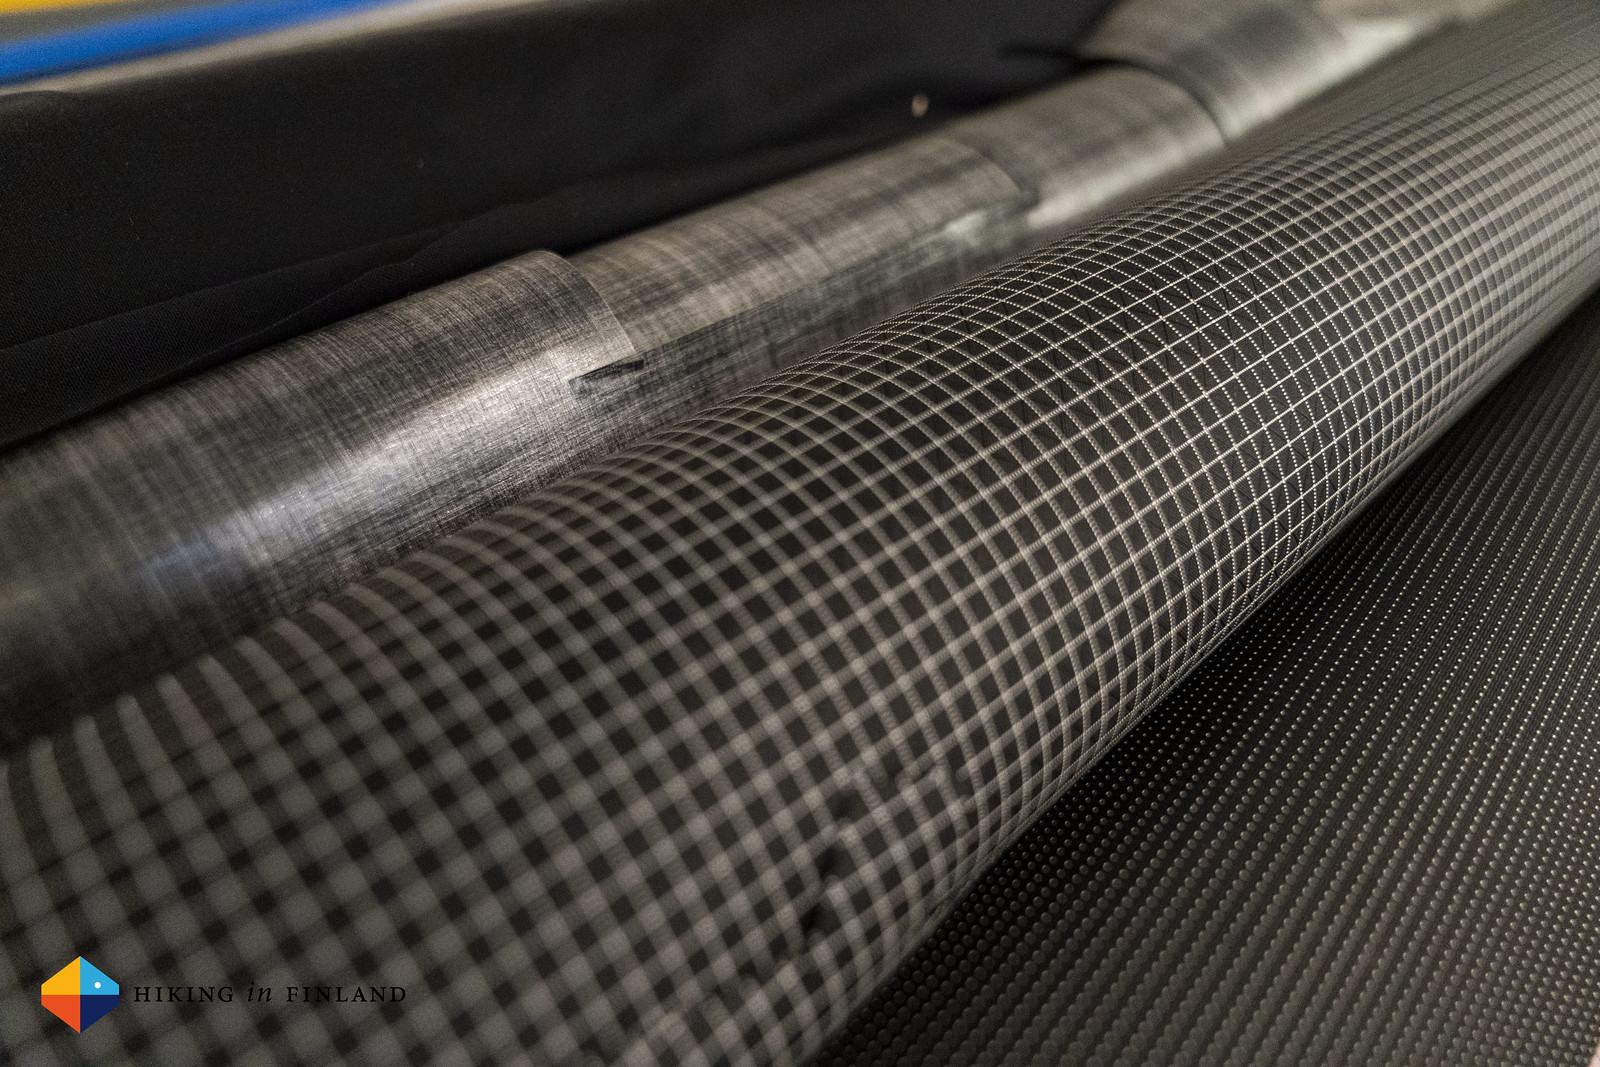
DXg x DCF

Cutting

We shot two more videos after the Interview above, about the PHOENIX and the PACKL, drank another coffee and talked about the launch of the company, backpacking, and much more. Sadly, and you likely see this coming, parental duties called and so, after several hours, it was time to say good bye to Mateusz and head back to the city, so I could play with the kids and we could go have some lunch with the family =)

Cologne Playgrounds

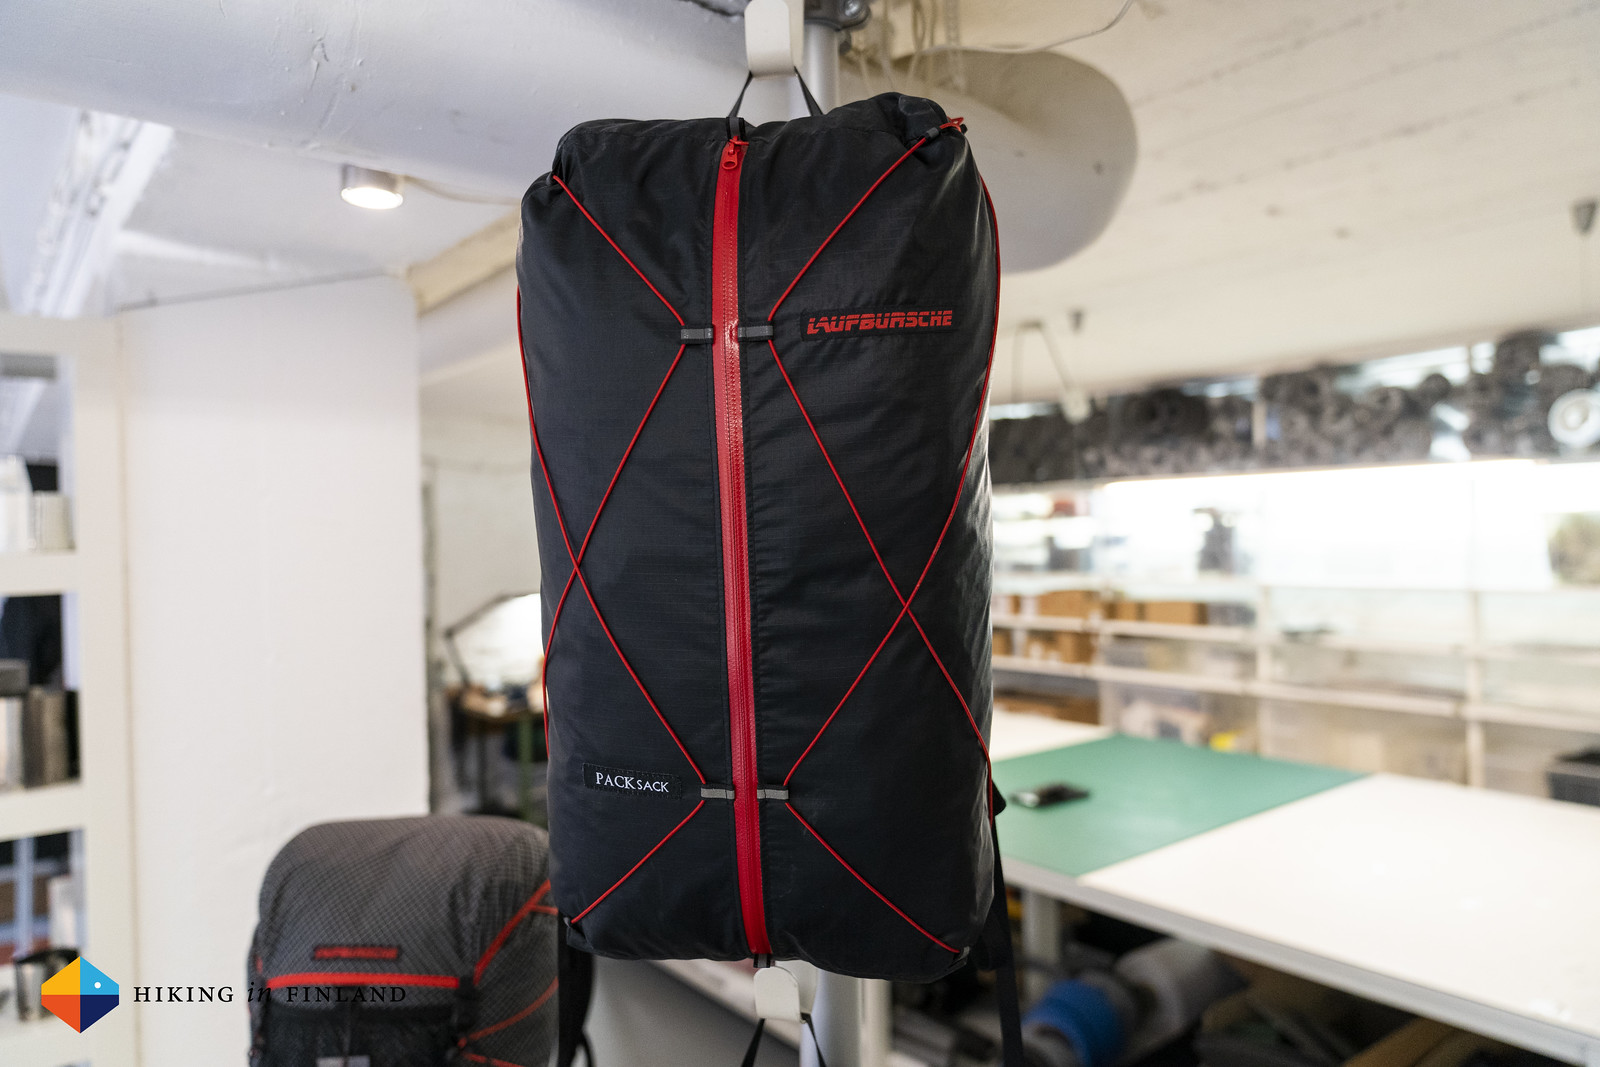
I am so excited that my friend Mateusz not only won his battle with cancer, but that he decided to return to sewing the finest ultralight backpacks which he is well-known and loved for! A few weeks later I was fortunate enough that a PHOENIX Lite pack arrived here, which I used on a backpacking trip in Lapland, and I still am using my old PACKsack regularly. If you are in the market for a pack for everyday use and Overnighters, or need a pack for long backpacking trips, give the new HUCKEPACKS packs a good look! I for one am really loving these packs, and wish Mateusz all the best with the new business!

If you enjoyed this article and video Please support me on Patreon and get some useful rewards (like hanging out on Discord with me, and Discount codes for kit from partners!) or buy me a coffee – I work Full-Time on Hiking in Finland to bring you inspiring trip reports, in-depth gear reviews and the latest news from the outdoors. You also could subscribe to the rarer-than-ever Newsletter and follow along on Instagram, Twitter, Facebook and Youtube for more outdoorsy updates!

LAUFBURSCHE PACKsack

A Visit to HUCKEPACKS Read More »

Muzzle direction is the primary safety

Muzzle direction is the primary safety. Always has been and always will be.

–Bill Rogers of the elite Rogers Shooting School

“He told police he was oiling a handgun and had put a magazine in it and racked the slide when it fired, hitting his wife as she sat on a couch nearby.”

Man sentenced to probation in shooting of his wife

I absolutely despise the meme from Blackhawk Down that shows a trigger finger with the phrase “This is my safety.” Trigger finger discipline is a good thing but there’s a reason it’s Number 3 in the Four Rules of Gunhandling. Muzzle Direction is Number 2, as it should be in the scheme of things.

this is my safety no

Muzzle direction is the primary safety Read More »

10 Tips to Add to your Weather Forecasting Knowledge After SHTF

Learning how to predict the weather without relying on forecasts is an essential skill that a survivalist or prepper should develop.

You’re reading 10 Tips to Add to your Weather Forecasting Knowledge After SHTF, originally posted at Graywolf Survival – Emergency preparedness from a Counterintelligence Agent by Graywolf.

10 Tips to Add to your Weather Forecasting Knowledge After SHTF Read More »